
Rice is a staple dish for many people — some even think a meal is incomplete without it! Many families cook their own rice at home for their meals. Some go traditional by using a cooking pot and manually adjusting the cooking temperature, while others have invested in a handy rice cooker to make preparing meals easier and quicker. You just pop the grains in the pot and wait for your rice to cook.
But in order to yield tasty and fluffy rice, there’s a preparatory step that must be taken — cleaning. If you know how rice is transported from the field to the grocery store, you’ll know that cleanliness isn’t always observed. Plus, a lot of chemicals and pesticides are involved in growing the grains. So there’s an absolute necessity to rinse the rice first before cooking. Doing this will remove all the impurities in the grains. It will shed off the outer layer of starch, giving the rice a nice texture and making it tastier. Without rinsing the grains, you’ll end up with muddy, impure rice.
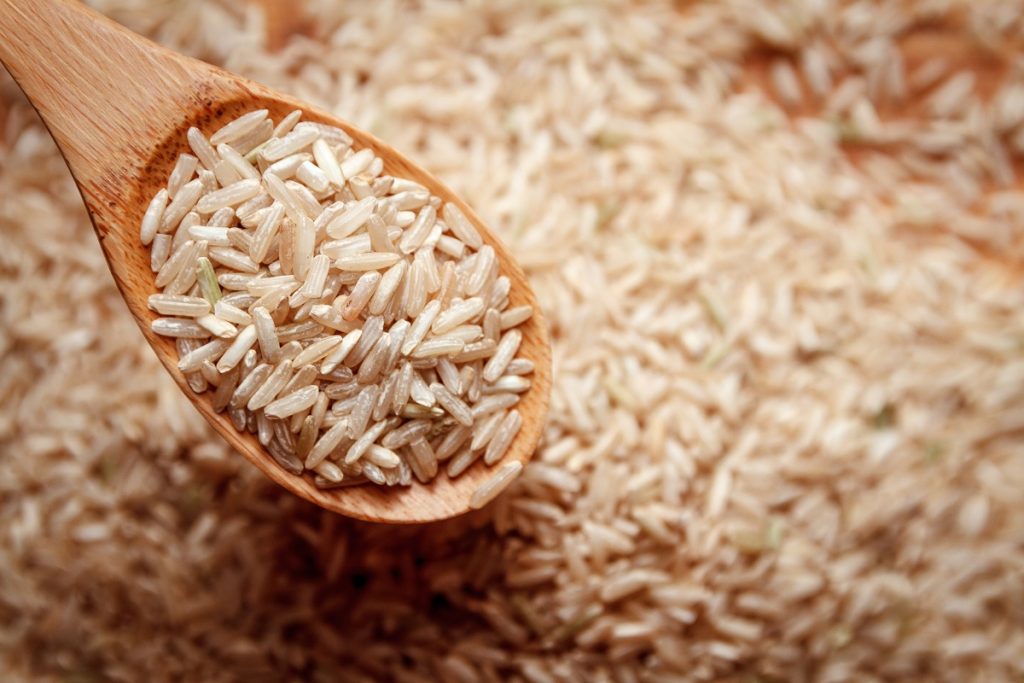
If you haven’t been washing your ice grains before popping them in the rice cooker, now’s the time to start. Not only will it ensure the cleanliness of the food you’re eating, but it will also boost its taste and texture quality. Here’s a guide to rice washing.
Step 1: Prepare the right serving
Whether you’re using a bowl, pot, or rice washer to rinse your grains, you need to prepare the right serving. Consider how many people you’re going to serve and use your plastic measuring cup to transfer the grains to your bowl. Typically, 1 cup of uncooked grains can yield more or less 2 cups of cooked rice.
Step 2: Add water
Once you have the right serving of grains ready, add water to your bowl, pot, or washer. Make sure that all the grains are completely submerged.
Step 3: Stir the grains
To make sure you get all those impurities out, stir the grains in the pot. And then use your hands to get a handful of grains and rub them together. Do this for a while and you’ll soon see that the water starts getting a milky or cloudy texture. That’s due to all the impurities and starch from the dirty grains.
Step 4: Drain the water
Wait for your rice to settle at the bottom of the pot, bowl, or washer. Then drain all the water out until you’re left with moist grains.
Step 5: Repeat the entire process
The next step after draining the water out is to add fresh, clean water to the pot again. Your rice is still dirty, as proven by the cloudy texture of the water you just drained. So you want to repeat the process over and over again. Do so until the rinsing water is clear, indicating that the grains are finally clean.
Step 7: Pop the grains in the rice cooker

After you’ve yielded clear water and successfully drained it out of the pot, you’re ready to start cooking. Add the right proportion of water according to how many cups of grains you put in. Ideally, the grains to water ratio should be 1 is to 1 — 1 cup of water for every cup of rice. But that would depend on the type of grains you’re using.
There you have it! The process of rinsing grains might seem tedious, but it’s essential to yield perfect, tasty, and fluffy rice.